We need to test our software against various versions of Windows: 7, 10, 10 LTSB (“IoT Enterprise”). Thus far we’ve used manually configured physical machines exposed via Jenkins node/agent label. This was easy to get working initially but has been problematic:
- Scalability: static set of machines that can be a bottleneck before releases
- Fail-fast/Debuggable: have to wait for PR to percolate through build pipeline to find out something doesn’t work and then take the node offline to debug
- Reproducability: manual configuration is error-prone, people make changes to the environment, etc.
Our recent success with AppVeyor and Travis CI inspired us to look for something more dynamic. This is some of the initial work we’ve done moving to Windows VMs with Vagrant.
Windows VM
Vagrant’s documentation for Windows guest VMs is pretty good.
We’re in the process of evaluating Windows 10 Enterprise LTSC (the OS formerly known as Windows 10 “IoT Enterprise”/LTSB) which is comparable to Windows 10 Enterprise version 1809/RS5. We’ve installed it to a Virtual Box VM named win10_ltsc_2019.
WinRM
Vagrant uses Windows Remote Management to manage Windows VMs.
Inside the VM, make sure the current network connection is “Private” otherwise the WinRM configuration will fail:
Get-NetConnectionProfile
# Get "Name" value from output
Set-NetConnectionProfile -Name "NAME FROM ABOVE" -NetworkCategory Private
Problems with the WinRM configuration will manifest later as commands like vagrant resume hanging with:
default: WinRM transport: negotiate
In our case, we’re on a domain and the connection will eventually rename itself. Once that happens we needed to set the category to “Private” again.
RDP/SSH
Enable Remote Desktop for vagrant rdp to work.
In order for vagrant ssh to work, must install OpenSSH server:
- Windows 10 RS3/1709 and later, it’s an optional component
- For ealier versions including Windows 10 LTSB 2016 (RS1), https://github.com/PowerShell/Win32-OpenSSH/releases
In either case, you also need to:
- Add the vagrant public key to
~/.ssh/authorized_keys(see this SO) - Have sshd start automatically:
sc config sshd start= auto
Boxing
At this point a PowerShell guru would probably head right into provisioning. With AppVeyor we got some mileage out of Chocolatey, but our shell-fu is woefully inadequate to fully automate Windows.
For this exercise we’re going to manually install software. Once we’ve fashioned an environment to our liking, we want to preserve it for later re-use as development environments, build nodes, etc.
Arguably the most common Windows component is Visual Studio which has a bevy of install choices:
- Full Visual Studio
- “BuildTools” (a streamlined version of VS)
- Visual Studio container
Once your software is installed, working with the VM as a Vagrant “box” is straight-forward. In the case of Virtual Box, we package the VM for later reuse:
# Save the base image somewhere
vagrant package --base win10_ltsc_2019 --output /shared_folder/win10_ltsc_2019.box

# Elsewhere...
# Remove the box if it already exists
vagrant box remove win10_ltsc_2019
# Add the saved base image to list of available "boxes"
vagrant box add --name win10_ltsc_2019 /shared_folder/win10_ltsc_2019.box
Keep in mind none of this is fast as it involves 5-15GB VM images (depending on the version of Windows and how much you install). This should be used for relatively “static” configuration; I wouldn’t want to mess with it every day or even every week. For things that change frequently (like your software) there’s “shared folders”.
Vagrantfile
With our VM image ready, we need a Vagrantfile to get things going:
Vagrant.configure("2") do |config|
    config.vm.box = "win10_ltsc_2019"
    config.vm.guest = :windows
    config.vm.communicator = "winrm"
    # 3389 RDP
    config.vm.network "forwarded_port", guest: 3389, host: 3389
end
Run vagrant up:
==> default: Forwarding ports...
    default: 3389 (guest) => 3389 (host) (adapter 1)
    default: 5985 (guest) => 55985 (host) (adapter 1)
    default: 5986 (guest) => 55986 (host) (adapter 1)
    default: 22 (guest) => 2222 (host) (adapter 1)
==> default: Mounting shared folders...
    default: /vagrant => /Users/XXX/nng.NETCore
Note the last line. The project directory on the host (/Users/XXX/nng.NETCore) is accessible to the VM as a “shared folder”.
Port 3389 is RDP so vagrant rdp works. I added a (very belated) answer to Stack Overflow about this:
$ vagrant rdp
==> default: Detecting RDP info...
    default: Address: 127.0.0.1:3389
    default: Username: vagrant
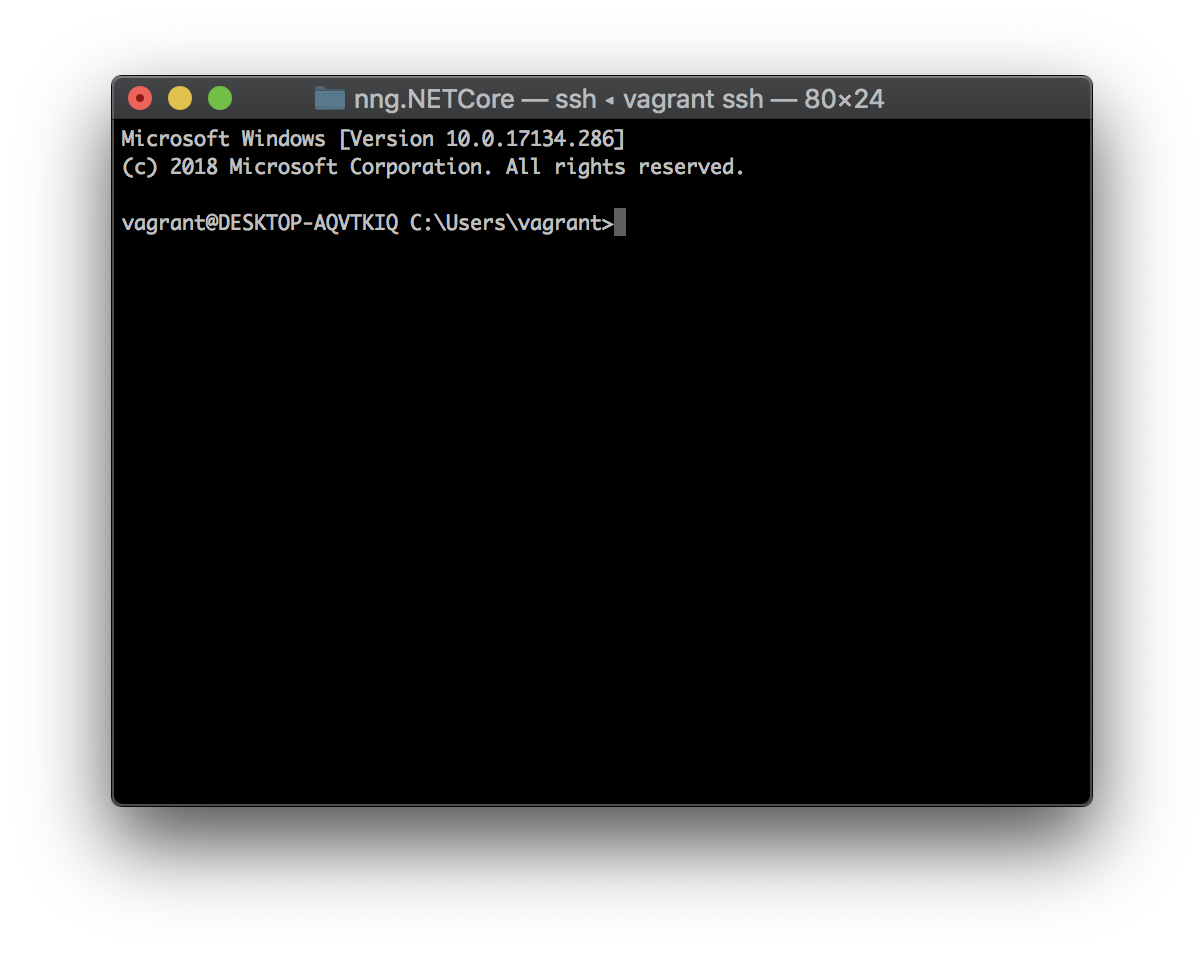
Likewise, vagrant ssh:
Next
This gives us a good start that accomplishes a few of our goals:
- On-demand Windows environments
- Reproducible at both developer’s workstations and for building/testing
But we still need a few improvements before we can fully migrate:
- General automation
- A previous project had PowerShell scripts for installing/running our software that we should either track down or re-write
- Integration into Jenkins pipeline
- Provisioning
- Truth be told, the environment is fairly static, so maintaining read-only VM images should suffice for now
- This repo has neat scripts and Vagrantfiles for working with Windows and Docker